
How to Install LED Strip Light Channel
How to Install LED Strip Light Channel: A Step-by-Step Guide
LED strip lights have become a popular choice for home and commercial lighting due to their versatility and energy efficiency. Installing them in channels not only enhances their appearance but also provides protection and improves diffusion. Here’s a comprehensive guide on how to install LED strip light channel.
What You’ll Need:
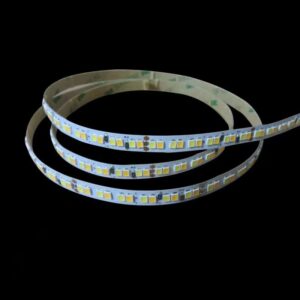
- LED strip lights
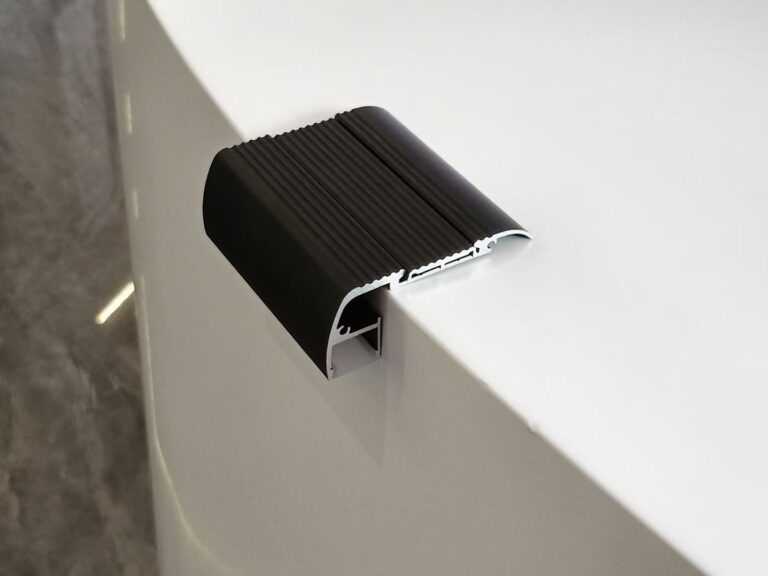
- LED channel (also known as LED extrusion or aluminum channel)
- End caps for the channel
- Diffuser cover
- Adhesive tape or mounting clips
- Measuring tape
- Utility knife or scissors
- Drill and screws (if necessary)
- Level (optional)
- Wire connectors (if connecting multiple strips)
Step 1: Plan Your Layout
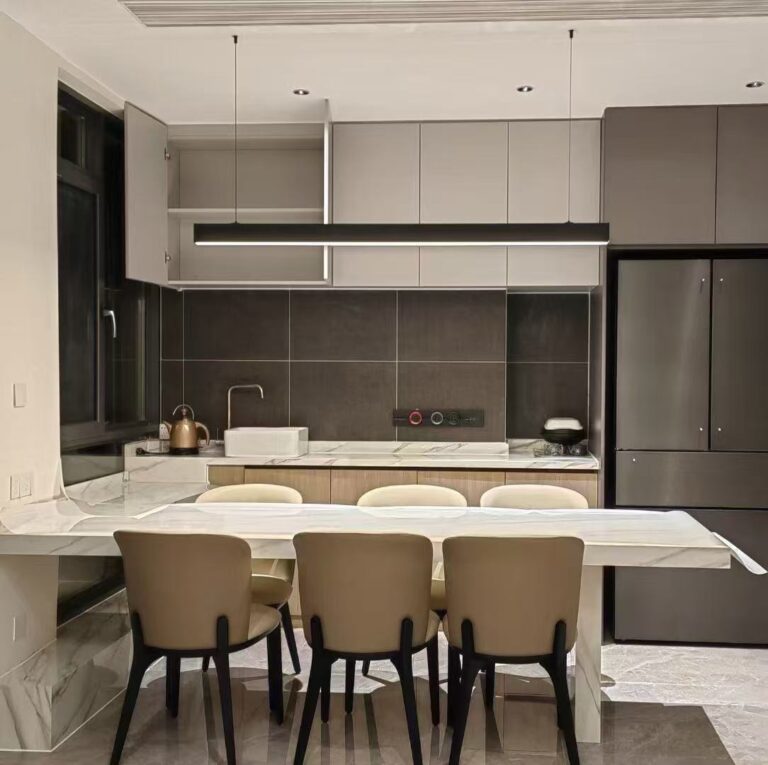
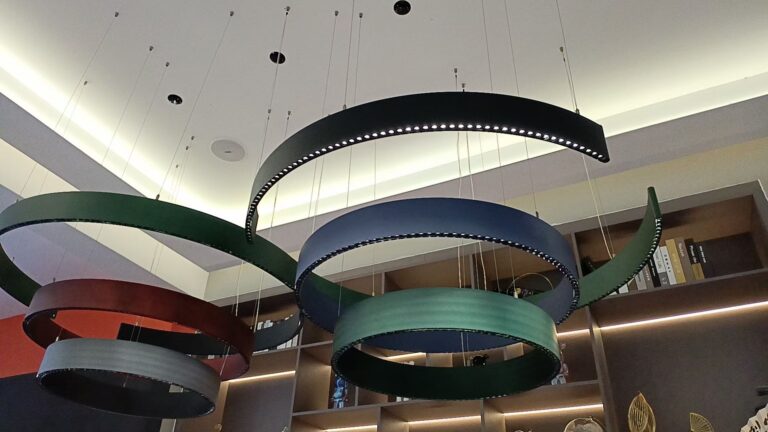
- Choose the Location: Determine where you want to install the LED strip lights. Common locations include under cabinets, along ceilings, or behind furniture.
- Measure the Area: Use a measuring tape to measure the length of the area where the LED strip will be installed. This will help you determine how much LED strip and channel you need.
Step 2: Prepare the LED Strip Lights
- Cut the Strip: If necessary, cut the LED strip to the desired length. Make sure to cut only at the marked cutting points to avoid damaging the strip.
- Test the Lights: Before installing, connect the LED strip to a power source to ensure it works correctly.
Step 3: Install the LED Channel
- Cut the Channel: If needed, cut the LED channel to the same length as the LED strip.
- Position the Channel: Hold the channel in place where you want to install it. Use a level to ensure it’s straight.
- Secure the Channel:
- Adhesive Tape: If the channel has an adhesive backing, peel off the protective layer and press it firmly against the surface.
- Screws: If using screws, drill holes in the mounting holes of the channel, then secure it with screws.
Step 4: Insert the LED Strip
- Place the Strip in the Channel: Carefully peel the adhesive backing off the LED strip (if applicable) and press it into the channel. Make sure it’s aligned properly.
- Attach End Caps: Once the strip is in place, attach the end caps to both ends of the channel to keep the strip secure and provide a finished look.
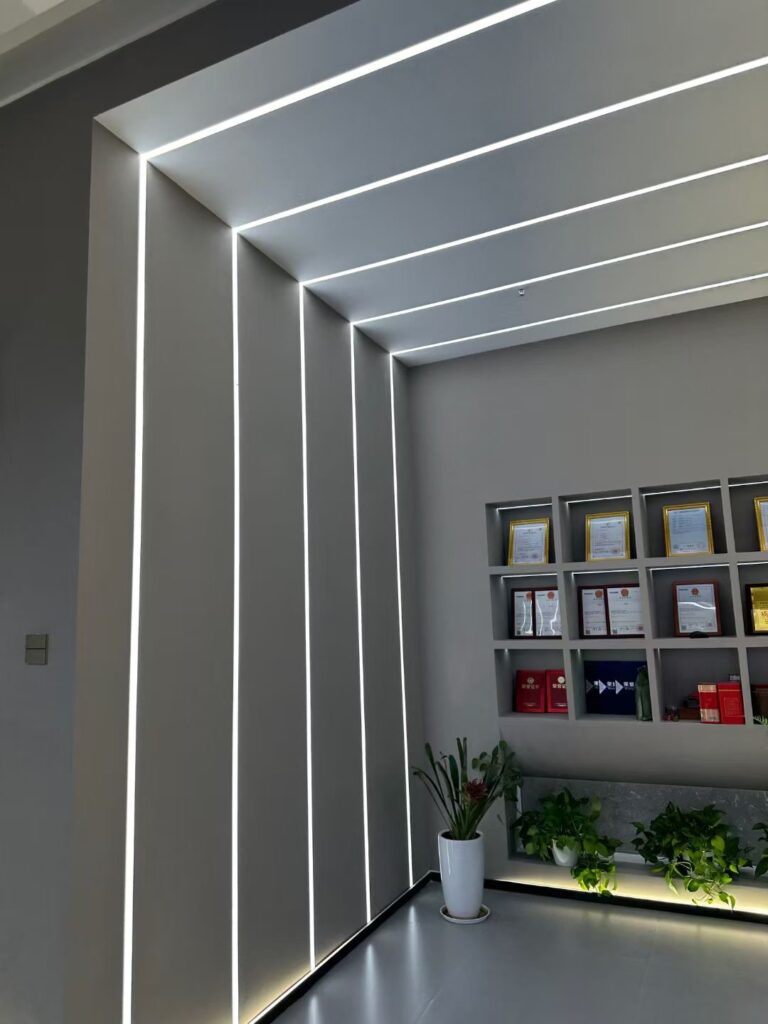
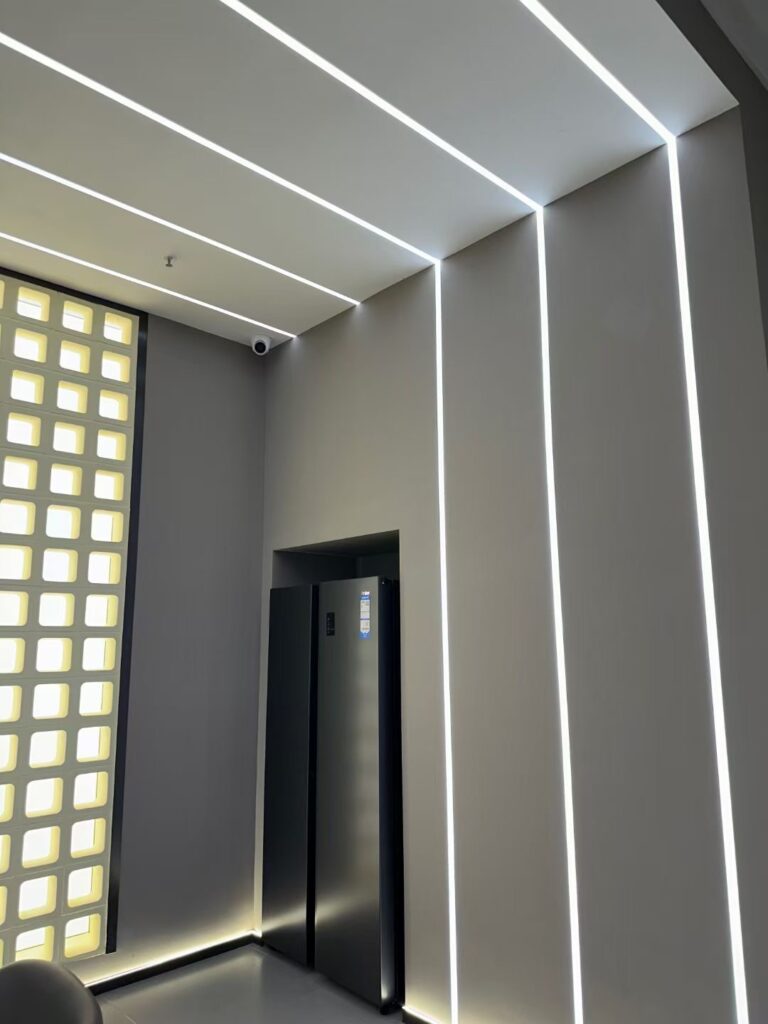
Step 5: Add the Diffuser
- Install the Diffuser Cover: Snap the diffuser cover onto the channel. This will help diffuse the light and provide a smooth glow.
Step 6: Connect to Power
- Wire the LED Strip: If you have multiple strips, connect them using wire connectors. Follow the manufacturer’s instructions for connecting to power.
- Plug in the Power Supply: Finally, connect the power supply to the LED strip, and plug it into an outlet.
Step 7: Test Your Installation
- Turn on the Lights: Switch on the power to test the installation. Check for any flickering or dim spots, and ensure everything is working correctly.
Installing LED strip light channel can dramatically enhance the aesthetics of any space while providing functional lighting. By following these steps, you can achieve a professional-looking installation that showcases the beauty of LED lighting.